Followers

Wednesday 26 May 2021

Mario star crochet pattern


 Mario Star Crochet Pattern 

Terms used:

ch – chain stitch

dc – double crochet

inc – increase stitch

dec – decrease stitch


Start


r1 - Start by putting 5dc in to magic circle

r2 - 2 dc in each stitch

r3 – 1dc, inc, repeated

r4 -  2dc, inc, repeated

r5 -  1dc, inc, repeated


first point of the star -

ch 1 6dc and then turn so you can work back along the stitches you have just made.

Ch1 6dc turn

ch1 dec, 2dc, dec, turn

ch1 4dc turn

ch1 dec x2 turn

dec  

fasten off.


Make all points the same a point one. Keeping the points close together.

Make two stars.

Crochet the two stars together but inserting your hook anywhere it will fit and dc along. Ch1 at the top of the point so you do not squash the point.  Stuff before finishing off. Add a chain of desired length for hanger if required before cutting yarn.


Eyes


chain 5, dc along the chain starting with the 2nd chain from the hook. 2 dc in the last chain and dc back along the other side of the chain. Fasten off. Embroider white pupils.  Sew of to stuffed star. 

Daisy crochet pattern


Daisy Crochet pattern

by Vickie Smith


This is a crochet pattern written using UK terms. Crocheted in the round.


Terms used:

ss- slip stich

dc- double crochet

5trtog- 5 triple crochet together


You will need

Two colour dk yarns and a 3mm hook

Start:

Magic circle and put 5 dc into circle, pull close

2 dc’s in each stich (increase stich)

Fasten off

Attach new yarn

5trtog, ss into next stich. Repeat all the way around

Ss to base of first 5trtog

Fasten off.


Permission is given for the sale of any items made using this pattern Permission is NOT given for the resale of this pattern.

Monday 29 January 2018

How I made the Green Manala

Green Mandala


Materials used:


Scheepjes whirl - pistachio oh so nice, brought from Hoop Haberdashery Tenterden
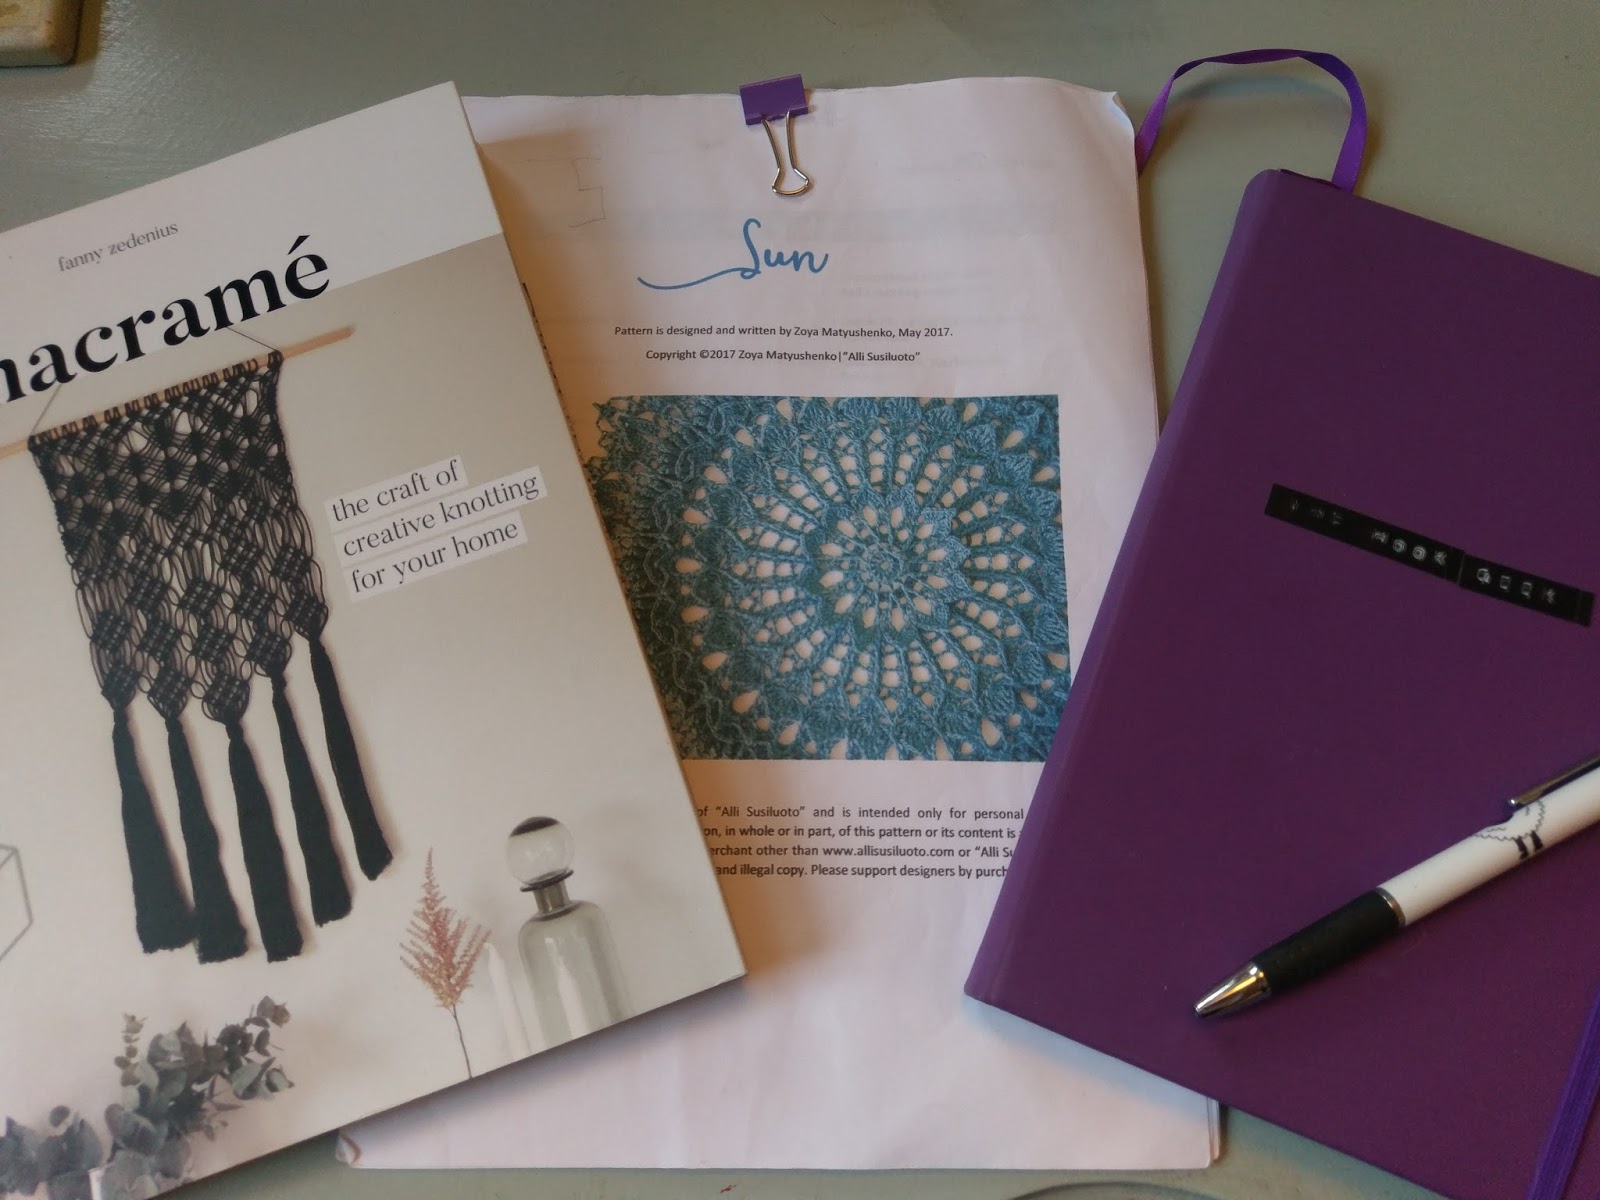
Sun pattern by Alli susiluoto designed and written by Zoya Matyushenko
Hoop brought from Hoopomania via Amazon
Macramé book by Fanny Zedenius
Hook size 2.5mm
Additional rounds of the pattern designed by me. @thehookgeek 


I started this mandala with every intention of attaching it to canvas to put up on my living room wall. The pattern was brought from Alli Susiluoto website which was a normal pdf download purchase. At first the pattern was easy enough and very quickly it became something I had to concentrate on which was ok as long as I didn't put it down too long.


Well I got to round 17 and life got in the way. I put it down and when I came to pick it up again I was lost in the pattern and couldn't re start. I certainly didn't want to frog it so I continued by making it up as I went along. I would think about how I wanted the next round to look and I designed each round individually and eventually it grew and grew.  I have the rounds I designed written down and I'm happy to share but I would urge you to either try and finish the pattern or try a few of your own ideas.  I found the whole process very therapeutic. Yes it took a lot of hard work but it was very worth it in the end.


The scheepjes whirl was lovely to work with. Yes it did knot up easily but it also unknotted easily. I have used one previously to make a shawl and I love not only the colours but the feel of the cotton. Plus you get a lot for your money. 


After seeing a few wonderful mandalas  in hoops on Instagram, I decided I would like to put mine in a hoop. My search began and continued for ages because I was after a wooden hoop


but I couldn't find one that was big enough. after speaking to a couple of people via Instagram I discovered that using a plastic hoola hoop will not be as bad as I think. So I purchased a 70 cm hoop.


I attached the mandala first before addressing the hoop itself. I took the advice of  @pineapplefibreart and attached it to the hoop in its final round. After blocking it.  Once it was centred I could address the hoop. I didn't want the plastic showing. With using the Macramé book written by Fanny Zedenius I found the right-facing vertical lark's head knot and the instructions on how to do it.
To stop the colour changes to lead around the hoop back to the beginning I worked it so the colour changes went around both sides of the hoop at the same time as to not have an obvious beginning and end. This took 8 hours of continuous knotting to complete the entire hoop.


In the end I have something that I am very proud of and will look great in my living room. I have already had requests to make more but I am not going to do that, I like the idea of having something that is just mine. something I have worked very hard on and is completed because of the hours that I put into it. Now I'm not saying I wouldn't try another one because of course I will and when I design one from scratch I'll be happier to make some for others and even some to sell.

If you have made a mandala and would like to share picture or your story please feel free to comment or message me.


Tuesday 6 June 2017

Catch up


hello, its been along time


Its been a while since I posted and I'd like to say I've been so busy that I haven't sat in front of the computer in a looong time but this wouldn't be true. I did sit in front of the computer to do my tax return, to do some shopping but thinking of what to write for the next blog took time. I go through phases where I find thinking of new ideas so hard and I start doubting myself and over thinking everything. Writing is not a skill that comes easily to me.

So what have I been up to? crocheting a lot. I have started and finished my CAL from scheepjies and to be honest I loved making it but I was not over keen on the finished result. I found it stiff and heavy and not an item I
would wear.


I've designed a few new items that I need to type up the patterns for. I've started volunteering for Young epilepsy and I am teaching an art class soon at a YE event. Having never taught art before I'm looking forward to the challenge and hoping I have nice bunch of students which will make the process easier.

I won an Instagram competition where I won 4 balls of the softest wool I've ever worked with. they are cream in colour and have bright speckles. I brought some blue wool and together I used them to make some cushion covers for my newly decorated bedroom.

The first one I made looks a little stretched and when sewing it together I thought oh it will be ok cushions are better puffed up. well, this is not the case. it looks like I've stuffed a cushion that is too big for the case. It doesn't look bad but not as good as the idea was in my head. so the next one I've made bigger. Its a much better fitting.

Now I'm looking back at everything I have done over the past two months I can see I have actually been busy, isn't it strange that you think you've not accomplished much but  in fact you've been very productive. feeling much better about the amount of Netflix I've watched and how many podcasts I've listened too.

hopefully your lives are as busy as mine :)